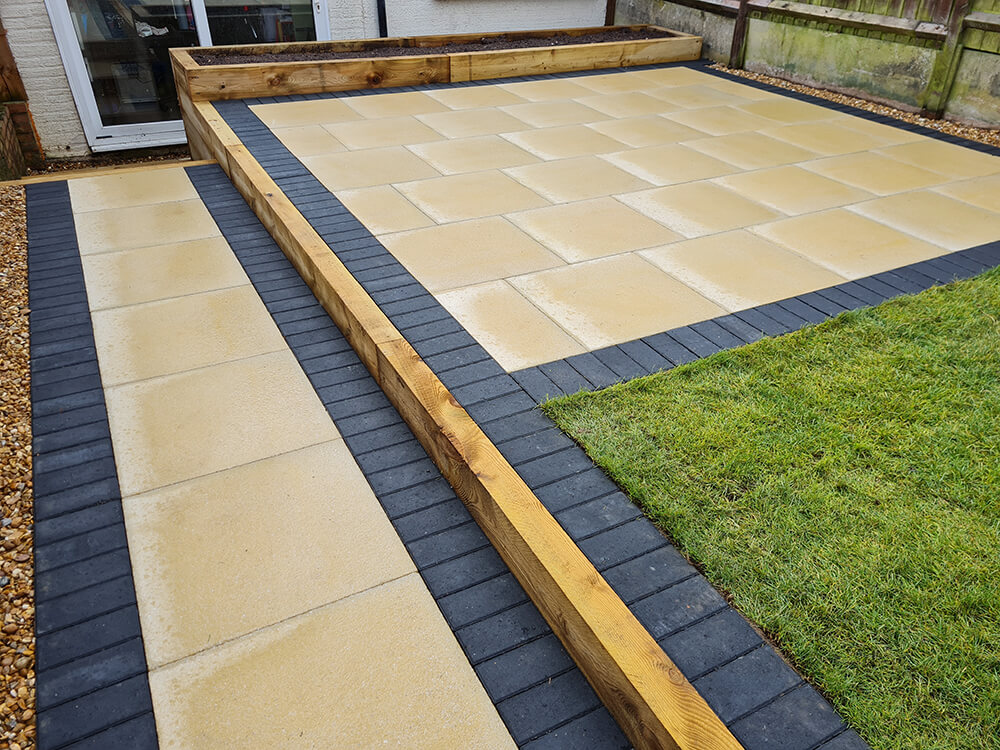
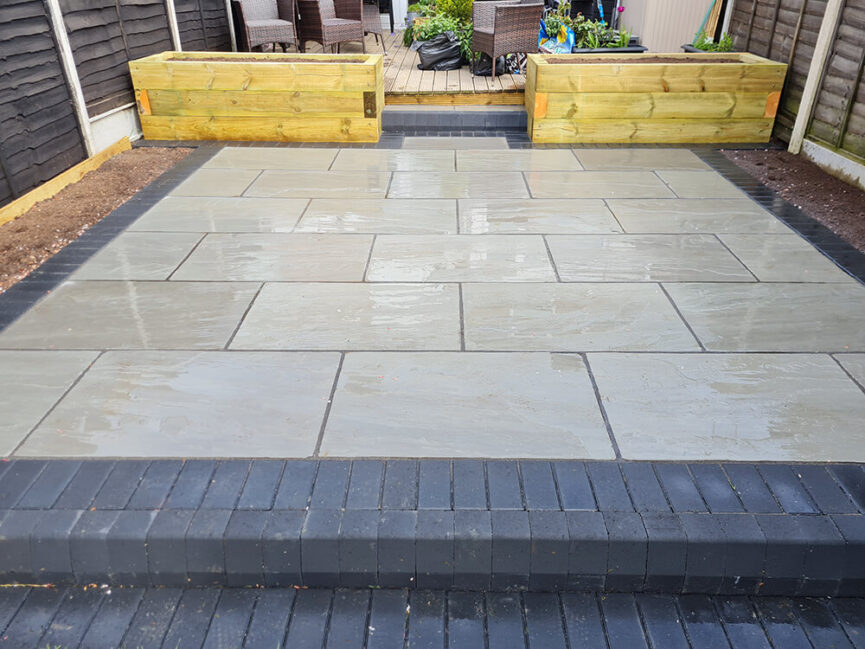
If you have a garden the easiest thing to brighten it up as well as creating a useful space is to lay a patio. Laying slabs for a patio is very similar to laying slabs for a path or any other use.
Laying slabs is something that most people can do and if you are interested in doing it yourself here is our guide on how to do it. We have included to explain how to lay paving slabs on sand, concrete and even soil bases.
The first thing you will need to do if you are not replacing an old patio is the measure the area you want to pave. Then you need to decide what type of paving you want to use. Often choosing what type of paving to use is dictated by your budget.
So let’s first mention concrete slabs. Concrete slabs are often the cheapest option for paving slabs. They however do come in a variety of finishes. Gone are the days of the standard grey paving slab which was popular for a few decades ago and will be found with most houses built from the 1950’s.
Nowadays there are many finishes available like minimalist polished look, contemporary style to antique finishes and textured finished. Unfortunately concrete slabs do not last as long as sandstone paving for instance
A very popular choice for paving currently is natural stone. Even though with the prices of this type of paving coming down in recent years it is still more expensive than concrete. It is available using granite, sandstone and limestone with varying degrees of costs. It is still however good value and is popular for a few other reasons. Firstly because it is versatile, granite can give a classic look whereas sandstone gives a contemporary look. Both are also very durable.
Another choice of paving is porcelain paving. Again this has become popular over recent years. Being relatively new, porcelain paving has become popular because it is really very durable. As well as this it tends to get less dirty because its surface is a smooth silky finish so dirt does not cling to it in the same way it will on concrete paving slabs or even natural stone paving.
Porcelain paving slabs can connect the inside of your house to the outside because they look like tiles for the inside of the home. As said currently they are very popular, even though though they cost a bit more they will last longer and will also reduce the time keeping them looking good.

Preparation and Planning for Paving and Patio Project
If you are thinking of doing it yourself many people will want to just jump straight into it without little thought to how to prepare for it.
But the best way of ensuring your work both looks good and lasts the time it should is to prepare properly.
A professional paving contractor like ourselves knows the value of preparation.
So here is the best way to prepare for your paving:
Firstly make sure your work area is clear and then measure up.
To work out how many paving slabs you need, you need to divide the area by the width of your paving slabs.
A TIP:
If you are creating a new area make sure the area can be divided exactly by the dimensions of the slabs you are going to use. This way there is no need for any offcuts.
Ideally you should make a scaled plan of the area using the number of slabs.
Secondly make sure to get the tools and materials you need ahead of starting the work. This avoids stop starting the project.
What Tools Will You Need for Your Paving and Patio Project?
We recommend:
Trowel, Spade, Rake, Rubber mallet, Wheelbarrow, Gloves, Spirit level, Mask, Eye goggles.
If laying your slabs on sand you will need additionally:
Cement mixer, Sharp sand, String line, Cement Slabs, GSB Type 1 (Granular sub base) for laying patios on sand, Wooden planks for using as timber edge supports
A TIP:
When storing paving slabs, lean them upright against a wall, raised off the ground on two lengths of wood.
How to Lay Concrete Slabs
The procedure will be the same for concrete slabs, natural sandstone slabs and Porcelain.
- Dig to a depth of 150mm.
Tip in the sub-base and rake it evenly to a depth of 100mm ensuring the area is smooth, flat and compacted. - Create your concrete mix consisting of three parts sand and one part cement.
Keep adding water to get to the desired consistency.
A TIP:
If you wet the slabs before laying, this will prevent them from using all the moisture from the concrete and drying it out as you lay them. - Lower the first paving slab onto the concrete mix. Gently tap it with a rubber mallet, tap it down to approx 15mm into the mortar.
Use a spirit level to check the slab is lying evenly. - Repeat this process and leave a 10mm gap between each paving slab. Once all the paving slabs have been laid, spray water onto them and leave for 24 hours. This gives them enough time to set.
How to Lay Slabs on Different Bases
How to Lay Paving Slabs on a Sand Base
This method is very cost effective and at the same time not too difficult for DIYers.
Ensure the area is firm and level.
- Remove the top layers of sand. You need to go down so it is at least 150mm below any damp proof course.
- Compact the ground by using a garden roller, tamper or plate compactor.
Install timber edge supports so creating a frame to keep the sand in place giving a neat finish. - Lay 2 sub-layers of 50mm each using GSB Type 1.
- Add compacted 30mm layer of sharp sand.
- Lay your slabs making sure they are 2-5mm apart.
- Fill in the gaps with kiln dried sand and make sure everything is level.
How to Lay Paving Slabs on Soil
This is possible but not advised. The success of this depends on:
- The type of soil for example Heavy clay soil will be far more durable.
- How the slabs will be used, for example not in an area that is going to be used regularly.
- What is the drainage like because this affects if the slabs are likely to shifting or sink.
How to Lay Paving Slabs on Concrete
If you already have a patio it is possible to lay paving slabs over old concrete slabs.
The important thing to do in this instance is to create a more stable and even base and this can be done using sand. So you need to make sure you know how to lay slabs using sand.
How to Lay Paving Slabs Checklist
Whatever way you are laying slabs it is worth considering beforehand the ground conditions, usage and weather conditions.
Carefully plan the patio/path to minimise cuts and odd shapes.
If using cement be aware that it carries its own risks. For starters, cement splashes on bare skin can burn.
There is also the risk of inhaling the cement dust when mixing concrete.
If cutting slabs make sure to wear a mask to protect against all the dust created.
If you are laying slabs up to a building you need to make sure your paving slabs do not go over the Damp Proof course, if they do this can lead to damp problems.
Hiring a professional paving company like ourselves will eliminate you having any problems.
Specialist patio contractors will be able to lay your patio much quicker than a DIYer so saving you a lot of wasted time. They will also to be able to buy materials cheaper and make a lot less mess.
If you would like to know more about our patio and paving services please get in contact with us, click here, or call Jimmy on 07917 744 049.


